
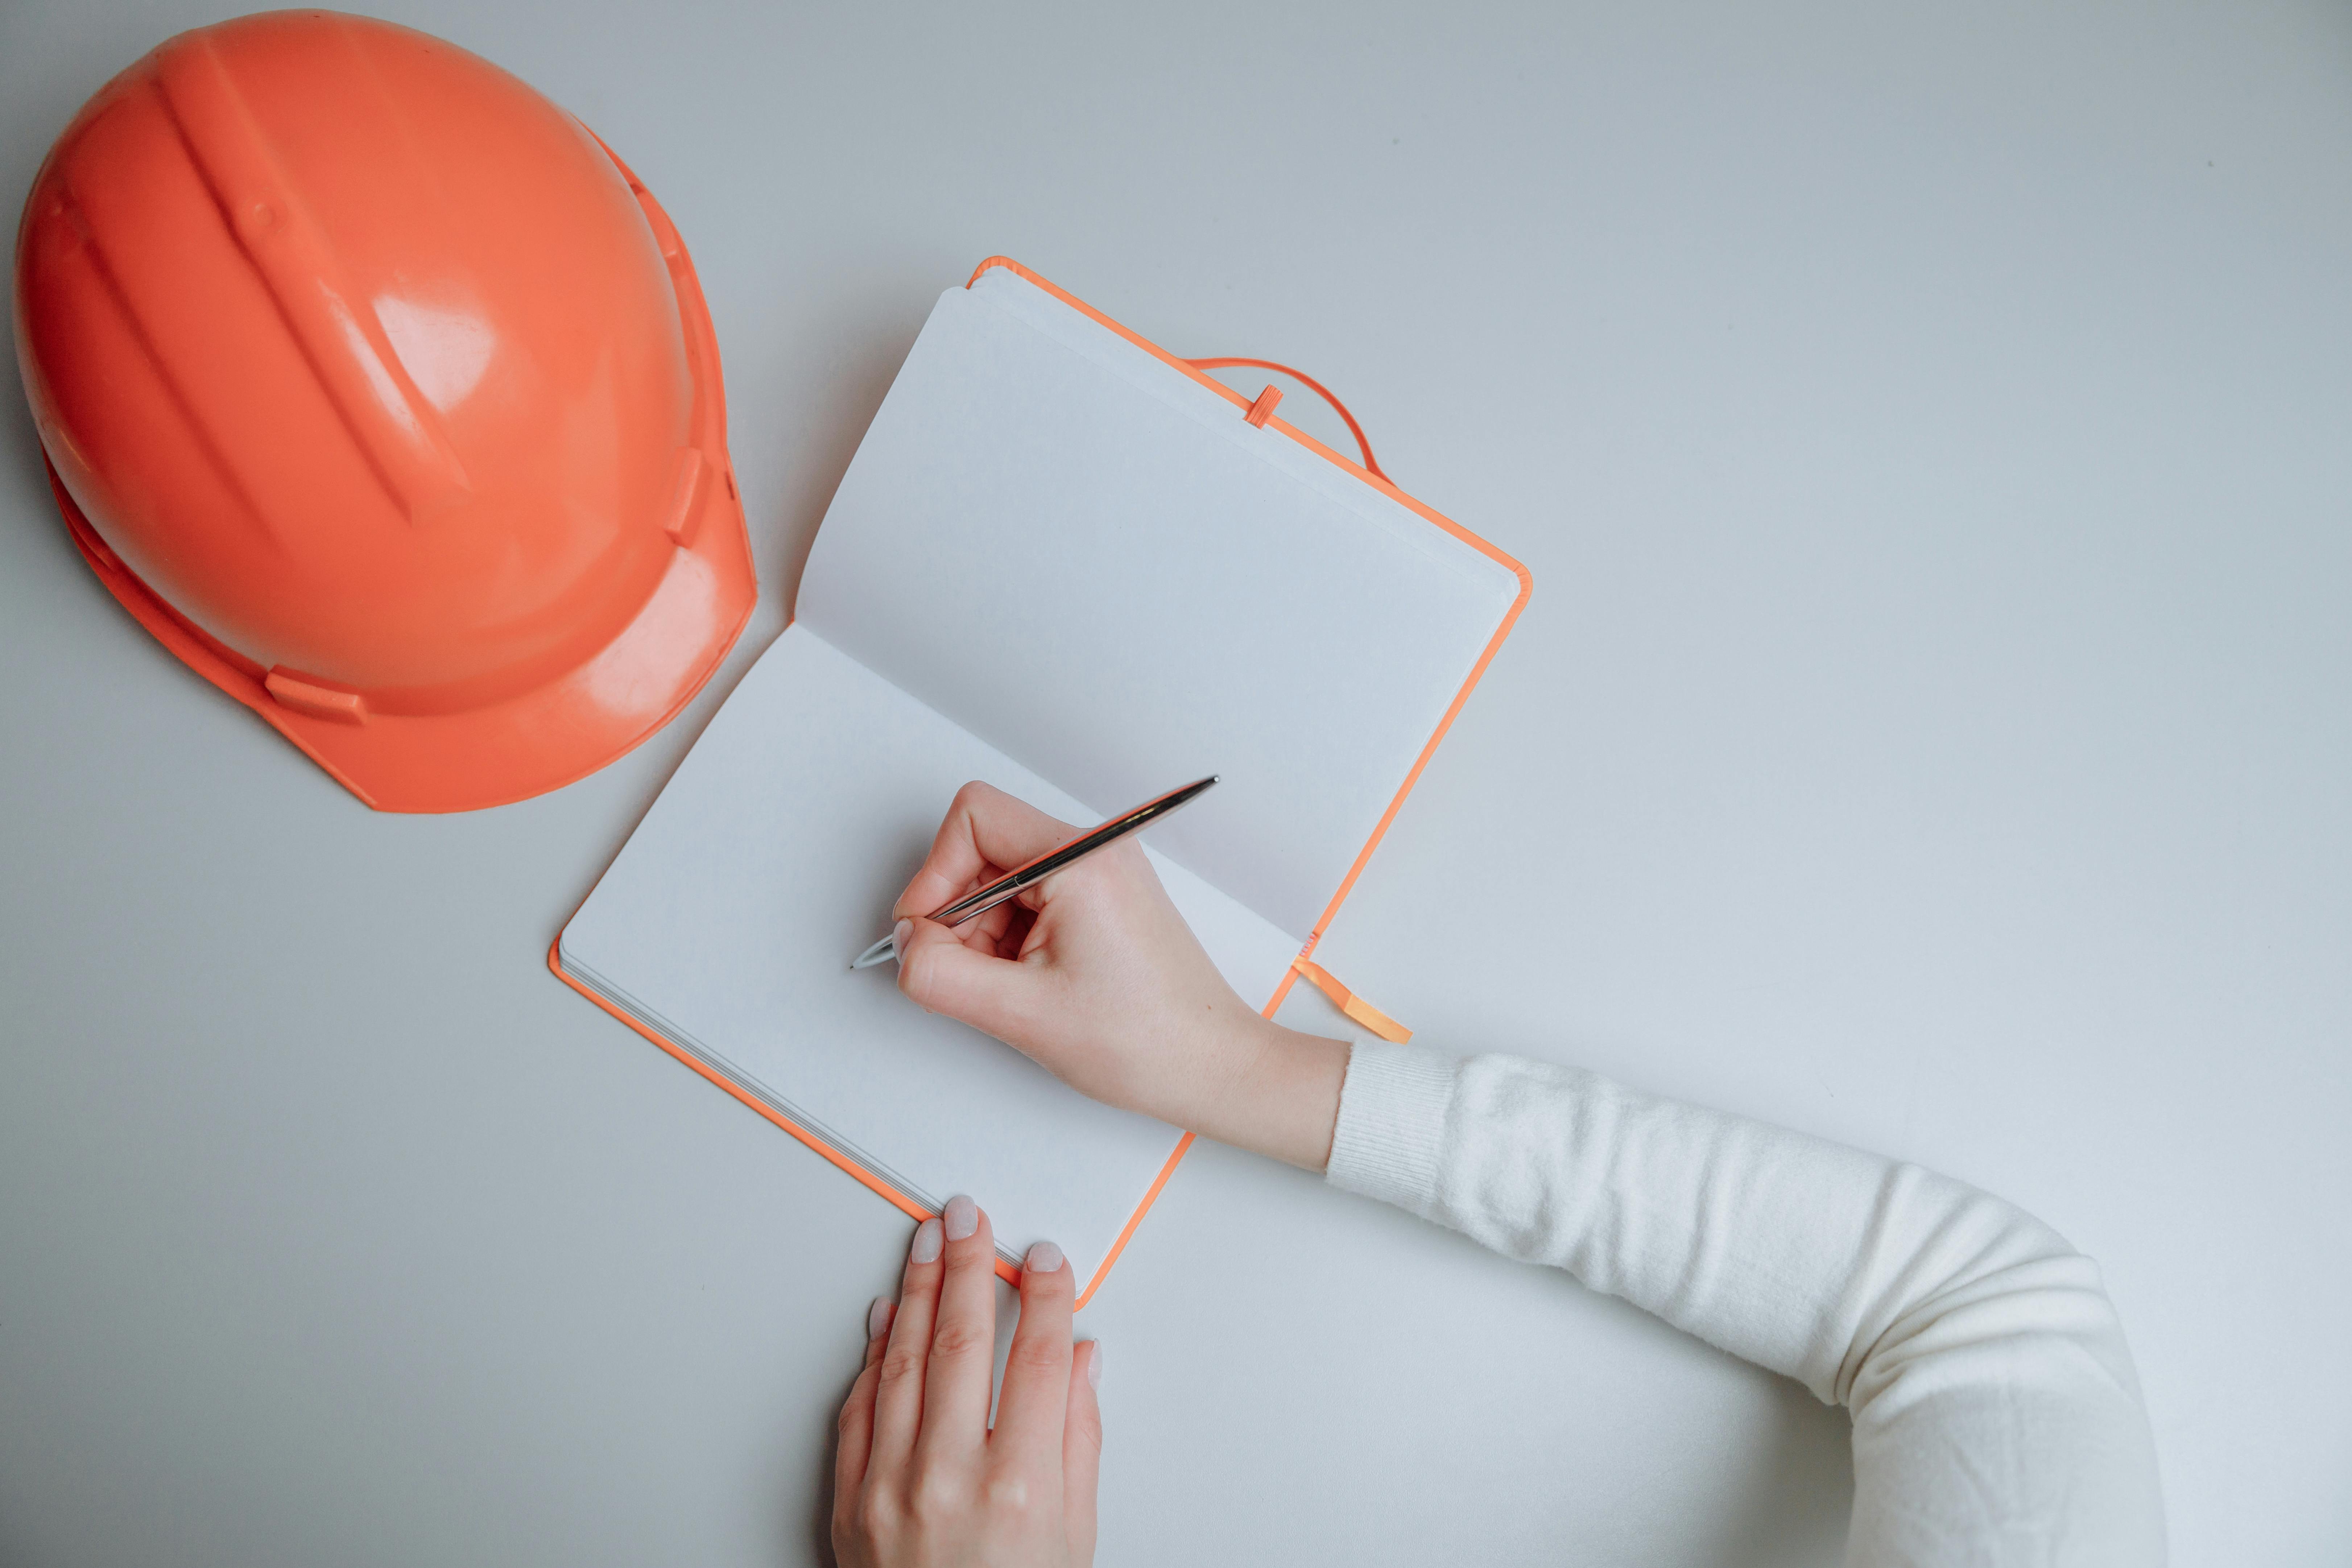
Hey there, school admin! 🏫
If you’re feeling overwhelmed at the thought of planning a new playground or shade structure for your campus, take a deep breath—we’ve got you covered. This checklist is designed to guide you through every step of the process, from turning your ideas into a clear vision to celebrating the grand opening of your brand-new space.
Whether you’re creating a play area from scratch or revamping an older setup, this guide breaks it down into manageable steps that are easy to follow. Along the way, you’ll find tips to help you stay organized, make informed decisions, and get your community excited about the project. By the end, you’ll have everything you need to create a playground that’s safe, engaging, and perfect for your students. Ready to get started? Let’s jump in! 🎢

Step 1: Dream Big! Define Your Vision
First things first: Picture your dream playground. Here’s what to think about:
- Who’s playing? Preschoolers, Kindergarteners, Older grade kids, or a mix? Make sure to plan for all ages and abilities. Sometimes more equipments or play structures are beneficial.
- What’s the goal? Are you creating a space for energetic adventures, rope play, quiet imaginative play, athletic courses, or a bit of everything?
- What’s the vibe? Bright and bold? Natural and earthy? Boat or Animal themed? Don’t forget to incorporate school colors or mascots. Let your inner designer shine and imagine!
Write down your ideas, doodle a little sketch—whatever gets your creative juices flowing. This is your playground, your rules!
Step 2: Location, Location, Location
You’ve got the vision; now let’s find the perfect spot. Here’s how to choose wisely:
- Measure it out: Use a measuring tape or a handy app to estimate your space dimensions. Don’t stress about being exact—we’ll handle precise measurements during an onsite consultation or even use tools like Google Earth to get a better view. Rest assured, exact measurements will always be taken by our team before placing any orders.
- Safety first: Avoid placing equipment near potential risks like power lines or areas prone to poor drainage. Now’s a good time to pull out the school’s site plans to identify any underground utilities that could interfere with construction. In some cases, hiring a professional underground utility locating service (such as GPR) can be a smart investment to help you dodge unexpected costs or delays once the project begins.
- Accessibility is key: Make sure all students can join the fun. (Pro tip: Think ADA compliance!)
- Visibility matters: Pick a spot where staff can easily keep an eye on things—you know, for those monkey bar daredevils. 🙈
Step 3: Get Budget Savvy
Time to talk numbers. 💰 Don’t worry, we’re not breaking out a math test—just a few simple steps:
- Crunch the numbers: What’s your budget? Are you using grants, PTO funds, or charitable donations? Consider organizing additional fundraisers to rally your school or community around a “New Playground” or “New Shades” campaign—it’s a great way to get everyone involved and invested in the project! Breaking the project into phases is another smart strategy, allowing you to spread out costs over time while accommodating budget constraints.
- Think beyond the swings: Equipment, Installation, Surfacing, and Shade Structures add up. Budget for the whole shebang.
- Leave wiggle room: Construction projects can sometimes come with unexpected surprises. Old or undocumented underground utilities and other unforeseen challenges may arise during installation. While these situations aren’t the norm, it’s wise to have a contingency budget to handle any surprises smoothly and avoid delays. A little extra planning now can save a lot of hassle later.
- Plan for the future: Invest in durable, high-quality materials that stand the test of time and daily wear and tear. Opt for designs and finishes that require minimal upkeep, saving your school money on repairs and replacements down the line. A well-thought-out investment now ensures your playground or shade structure remains a beloved, functional space for years to come.
Step 4: Research Like a Pro
Time to hit the playground equipment catalogs… or better yet, websites! 🌐 Here’s what to keep in mind:
- Safety first: Look for equipment that meets ASTM and CPSC standards. (Yes, these are as important as snack time!)
- Fun factor: Will it make kids say, “WOW!” Look for designs that spark creativity, encourage teamwork, and bring their imaginations to life. Better yet, involve the kids in the decision-making process! Whether it’s voting on their favorite designs or sharing what they find most exciting, their input can ensure the final choice is a hit with your students.
- Capacity counts: Big school? Make sure your equipment can handle a crowd. Sometimes multiple playgrounds or structures is necessary.
- Customization rocks: Some companies (like us!) specialize in creating unique designs customized to reflect your school’s personality—think incorporating your colors, mascot, or even your motto into the final design. It’s all about making the space truly yours!
- Shade Solutions: Protect those kiddos from the sun with UV-rated shades that not only look fantastic but also provide essential protection. These versatile structures aren’t just for playgrounds—they’re perfect for outdoor learning areas, courtyards, and more. In the heat of the southern summer, they’re a must-have to create comfortable spaces for both fun and education!
Step 5: Choose the Right Partner
Picking the right company is like finding the perfect sidekick—they’ll make your job 100x easier. with your busy schedule as a teacher or principal, having a reliable and supportive partner isn’t just helpful—it’s essential. Here’s what to look for:
- Experience: Been there, done that, built the playgrounds. Look for a company with a proven track record of designing and building exceptional playgrounds. Experience means they’ve navigated every challenge, from tricky site conditions to tight deadlines, and know how to deliver outstanding results. A seasoned partner brings a wealth of knowledge, helping you avoid pitfalls and ensuring a smooth process from start to finish.
- Portfolio: Check out their past projects to see if their style matches yours.
- Customer service: Are they friendly, responsive, and helpful? (Hint: We check all these boxes!)
- Warranty: Make sure you’re covered if something goes kerplunk!
Step 6: Inspire Your Community
Get everyone excited about your new project! 🎉 Here’s how:
- Student input: Let kids vote on designs or even draw their dream playground. (Bonus: instant buy-in!)
- Keep your School or Community in the loop: Use social media to share photos, videos, or behind-the-scenes looks at the design and construction phases to update everyone on the project’s process. Send out newsletters with key milestones and fun facts. For a personal touch, post good old-fashioned posters colorful posters around the school to keep everyone informed. This will help create a buzz that makes the unveiling day even more special!
- Celebrate big: Plan a ribbon-cutting ceremony—think balloons, music, and lots of happy faces!

Why Choose PRIME Recreational Solutions?
We know playgrounds, and we know schools. PRIME Rec has helped schools across Florida create amazing spaces where kids can laugh, learn, and let loose. 🎠 Here’s a few recent projects from our portfolio:
- San Jose Episcopal Day School (Jacksonville, FL): Two thoughtfully designed playground structures tailored for ages 2-5 and 5-12, both featuring integrated shade for comfort and safety. The space also includes a large climbing structure and swings for older children, along with a shaded courtyard area that enhances usability for outdoor learning or events.
- Episcopal School of Jacksonville (Jax Beach, FL): A large courtyard shade designed to serve as an outdoor classroom and lunch area for the lower grades, creating a functional and comfortable space for learning and socializing.
- Metcalfe Elementary School (Gainesville, FL): Two distinct playgrounds tailored for lower and upper grade levels, giving every student a space to explore and play. With vibrant school colors, creative music play pieces, integrated shade structures, and soft Pour-in-Place (PIP) safety surfacing, these playgrounds are as fun as they are functional.
- Temple Beth-el School (Ormond Beach, FL): Proof that a playground doesn’t have to be big to be amazing! This setup features a single 5-12 play structure with integrated shade and three slides, delivering plenty of play value in a compact, efficient design.
- Waypoint Church Preschool (Nocatee, FL): This play area features three distinct zones: a 2-5 play structure, a 5-12 play structure, and a free-play area with playhouses for imaginative adventures. The entire space is turfed and shaded for maximum comfort, while pops of mint green add a vibrant touch that complements the school’s colors.
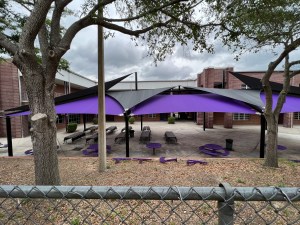
- Gainesville High School (Gainesville, FL): A series of custom sail shades in the school’s colors, featuring large, overlapping rectangular designs to maximize sun protection. Perfectly suited for student gatherings and lunch breaks, these shades provide a functional and stylish addition to the campus.


What makes us your perfect partner? We’re experts in helping schools like yours create safe, fun, and inclusive play spaces that kids absolutely love. As a veteran-owned business, we take pride in guiding you through every step of the process—from brainstorming initial ideas to unveiling the finished project. Our mission is to make the journey as smooth and enjoyable as the playground itself!
Ready to make your playground dreams a reality? Contact us today, and let’s get started. Your students are going to love this—and so will you! 🌟